【Android界面實現】可旋轉的汽車3D模型效果的實現
來源:程序員人生 發布時間:2014-11-13 08:57:50 閱讀次數:5092次
轉載請注明出處:http://blog.csdn.net/zhaokaiqiang1992
今天要給大家介紹的是如何實現可旋轉的汽車3D模型。
先看實現效果
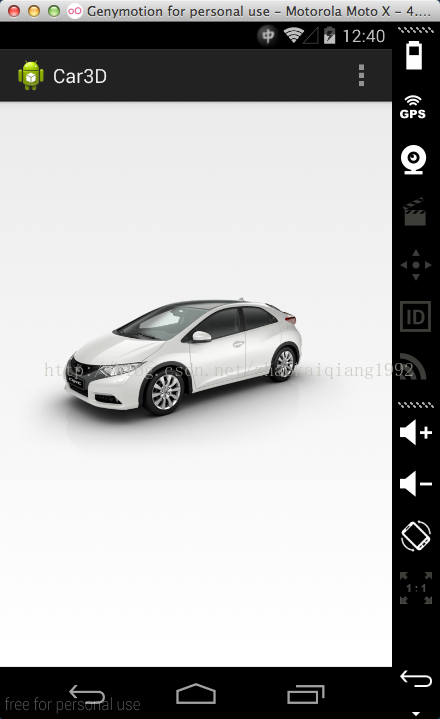
這只是靜態圖,實際上,這個模型是可以根據手勢進行旋轉的,效果還可以。
下面我說1下實現的原理。首先,這類3D模型的旋轉效果是通過切換不同的圖片完成的,在這個例子中,1共有52張圖片,展現了360度的旋轉效果,差不多每6度1張照片。然后,我們只需要監聽盛放圖片的ImageView的onTouch事件,完成圖片的切換就能夠實現這類效果。
下面是幾張圖片的例子


下面,看1下代碼實現
package com.example.car3d;
import android.app.Activity;
import android.graphics.Bitmap;
import android.graphics.BitmapFactory;
import android.os.Bundle;
import android.view.MotionEvent;
import android.view.View;
import android.view.View.OnTouchListener;
import android.widget.ImageView;
/**
*
* @ClassName: com.example.car3d.MainActivity
* @Description: 3D汽車模型
* @author zhaokaiqiang
* @date 2014⑴0⑶1 上午8:51:59
*
*/
public class MainActivity extends Activity {
protected static final String TAG = "MainActivity";
// 當前顯示的bitmap對象
private static Bitmap bitmap;
// 圖片容器
private ImageView imageView;
// 開始按下位置
private int startX;
// 當前位置
private int currentX;
// 當前圖片的編號
private int scrNum;
// 圖片的總數
private static int maxNum = 52;
// 資源圖片集合
private int[] srcs = new int[] { R.drawable.p1, R.drawable.p2,
R.drawable.p3, R.drawable.p4, R.drawable.p5, R.drawable.p6,
R.drawable.p7, R.drawable.p8, R.drawable.p9, R.drawable.p10,
R.drawable.p11, R.drawable.p12, R.drawable.p13, R.drawable.p14,
R.drawable.p15, R.drawable.p16, R.drawable.p17, R.drawable.p18,
R.drawable.p19, R.drawable.p20, R.drawable.p21, R.drawable.p22,
R.drawable.p23, R.drawable.p24, R.drawable.p25, R.drawable.p26,
R.drawable.p27, R.drawable.p28, R.drawable.p29, R.drawable.p30,
R.drawable.p31, R.drawable.p32, R.drawable.p33, R.drawable.p34,
R.drawable.p35, R.drawable.p36, R.drawable.p37, R.drawable.p38,
R.drawable.p39, R.drawable.p40, R.drawable.p41, R.drawable.p42,
R.drawable.p43, R.drawable.p44, R.drawable.p45, R.drawable.p46,
R.drawable.p47, R.drawable.p48, R.drawable.p49, R.drawable.p50,
R.drawable.p51, R.drawable.p52 };
@Override
protected void onCreate(Bundle savedInstanceState) {
super.onCreate(savedInstanceState);
setContentView(R.layout.activity_main);
imageView = (ImageView) findViewById(R.id.imageView);
// 初始化當前顯示圖片編號
scrNum = 1;
imageView.setOnTouchListener(new OnTouchListener() {
@Override
public boolean onTouch(View v, MotionEvent event) {
switch (event.getAction()) {
case MotionEvent.ACTION_DOWN:
startX = (int) event.getX();
break;
case MotionEvent.ACTION_MOVE:
currentX = (int) event.getX();
// 判斷手勢滑動方向,并切換圖片
if (currentX - startX > 10) {
modifySrcR();
} else if (currentX - startX < ⑴0) {
modifySrcL();
}
// 重置起始位置
startX = (int) event.getX();
break;
}
return true;
}
});
}
// 向右滑動修改資源
private void modifySrcR() {
if (scrNum > maxNum) {
scrNum = 1;
}
if (scrNum > 0) {
bitmap = BitmapFactory.decodeResource(getResources(),
srcs[scrNum - 1]);
imageView.setImageBitmap(bitmap);
scrNum++;
}
}
// 向左滑動修改資源
private void modifySrcL() {
if (scrNum <= 0) {
scrNum = maxNum;
}
if (scrNum <= maxNum) {
bitmap = BitmapFactory.decodeResource(getResources(),
srcs[scrNum - 1]);
imageView.setImageBitmap(bitmap);
scrNum--;
}
}
}
下載項目請到https://github.com/ZhaoKaiQiang/car3d
生活不易,碼農辛苦
如果您覺得本網站對您的學習有所幫助,可以手機掃描二維碼進行捐贈


